CoolGorilla user manual
CoolGorilla decodes a whole folder to display resolution on background workers and keeps it in RAM. After the first pass, moving through a shoot in either direction is instant — nothing is re-decoded, nothing is flushed. Everything here is built around that: look, decide, press one key, move on.
Installing
Windows
The Microsoft Store build is the easy one: verified by Microsoft, one click, and it keeps itself updated. The standalone installer from the download page works just as well, but Windows SmartScreen may say the publisher is unknown — there is no code-signing certificate behind it yet. Choose More info, then Run anyway. The installer needs no administrator rights and can add a desktop shortcut and Open with → CoolGorilla for image files.
macOS
Open the .dmg and drag CoolGorilla to Applications. On first launch, right-click the app and choose Open. If macOS says it is damaged, that is only Apple's quarantine flag: open Terminal, type xattr -cr followed by a space, drag the app onto the Terminal window and press Enter. It opens normally after that.
Linux
The AppImage needs no install. Make it executable — chmod +x, or right-click → Properties → Allow executing — then double-click it.
How much memory it uses: CoolGorilla claims 90% of system RAM, kept between 4 GB and total minus 8 GB — roughly 56 GB on a 64 GB machine, roughly 8 GB on 16 GB. That budget is shared between the display cache, the full-resolution cache and thumbnails, and the figure is printed on the status line at startup.
Opening photos
| Ctrl+O | Open image files. This is the only picker that shows thumbnails, so it doubles as a browser: pick one photo to open its whole folder positioned on that photo, or select several to open just that set. |
| Ctrl+Shift+O | Open a folder, when you already know which one you want. |
| Drag and drop | Drop images or a folder anywhere on the window. |
| From the file manager | Double-click a registered image type, or use Open with → CoolGorilla. Files opened while CoolGorilla is already running join the gallery you have open. |
The window sizes itself to the first photo it shows, so a set of portrait frames opens in a portrait window rather than a letterboxed one.
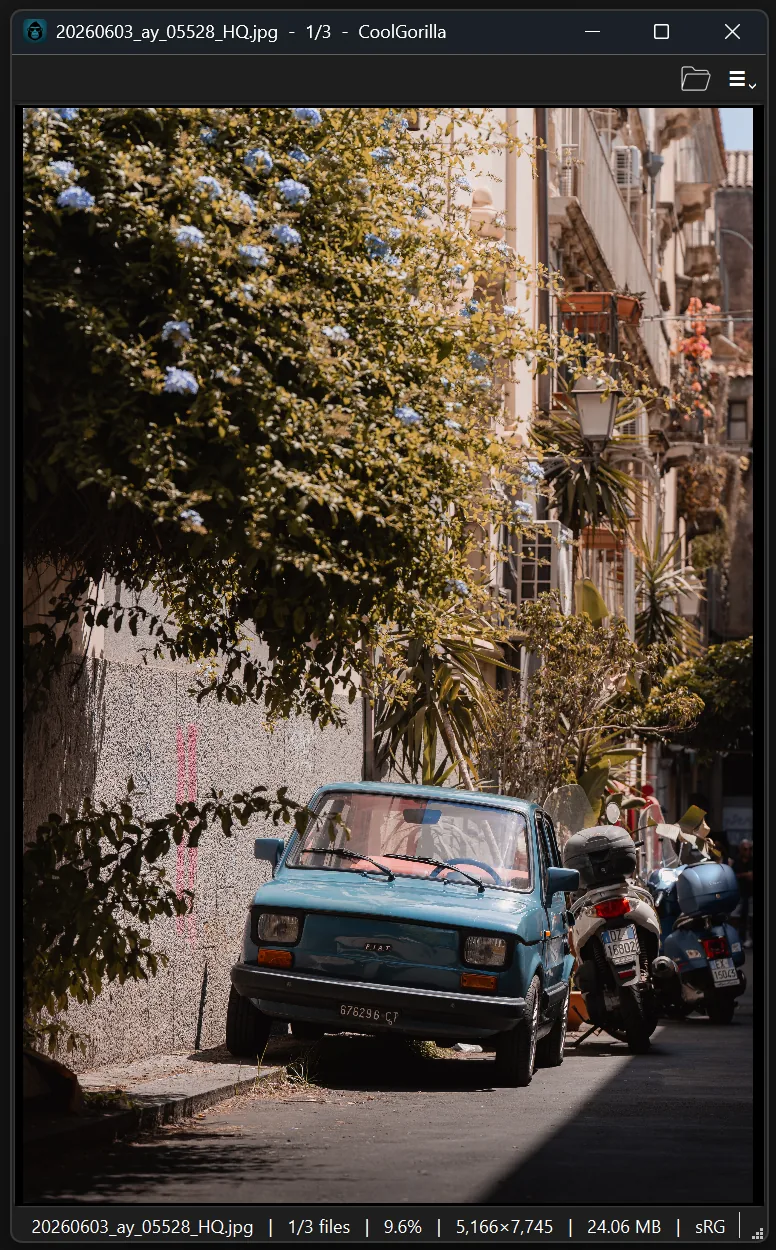
What it opens
RAW from every major brand through LibRaw — Sony, Canon, Nikon, Fujifilm, Olympus, Panasonic, Pentax, Leica, Hasselblad, Phase One, Sigma, Kodak, Minolta, Mamiya, Leaf, Epson and Samsung — plus JPEG, PNG, TIFF, WebP, BMP and the HEIC files an iPhone shoots by default. Straight from the card, no conversion.
The window
The title bar carries the file name and your position in the shoot. Top right are two controls: a folder button that opens files, and the menu button — the same menu you get by right-clicking anywhere on the photo.
Along the bottom, the detail bar reads out the photo you are on:
| Name | File name, with a gold star in front while the photo is in the copy set |
| Position | Which photo of how many |
| Zoom | Scale against the photo's real pixels — 100.0% is true 1:1 |
| Pixels | Native dimensions, for example 5,184×3,464 |
| Print size | What that measures on paper at your chosen resolution |
| File size | Megabytes on disk |
| Date | Modified date, marked (m) |
Below the photo sits the filmstrip of thumbnails. Drag the divider above it to make it taller or shorter, drag its scrollbar or flick it to travel through a long shoot, and click any thumbnail to jump there.
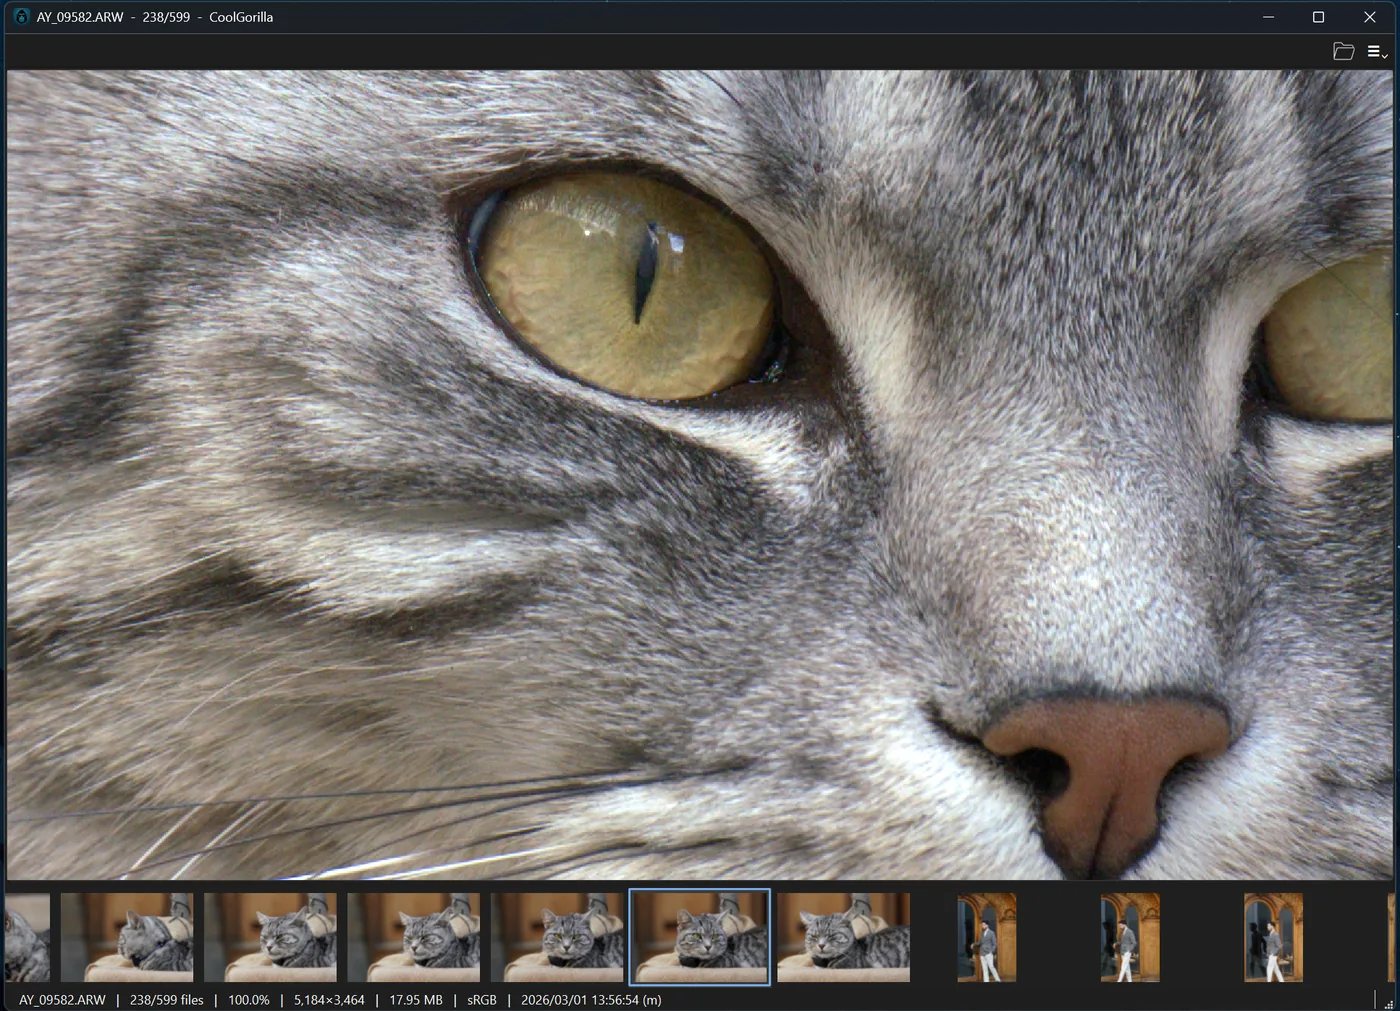
Moving through a shoot
| → PgDn ↓ Space | Next photo |
| ← PgUp ↑ | Previous photo |
| Home · End | First · last photo |
| T | Hide or show the filmstrip |
| F | Fullscreen, filmstrip kept |
| F11 | Fullscreen, image only |
| Esc | Leave fullscreen — or quit, if you are not in it |
Navigation wraps around: past the last photo you are back at the first. A cold folder shows each photo's embedded preview immediately and sharpens to the real decode a moment later, so there is never a black frame to wait through.
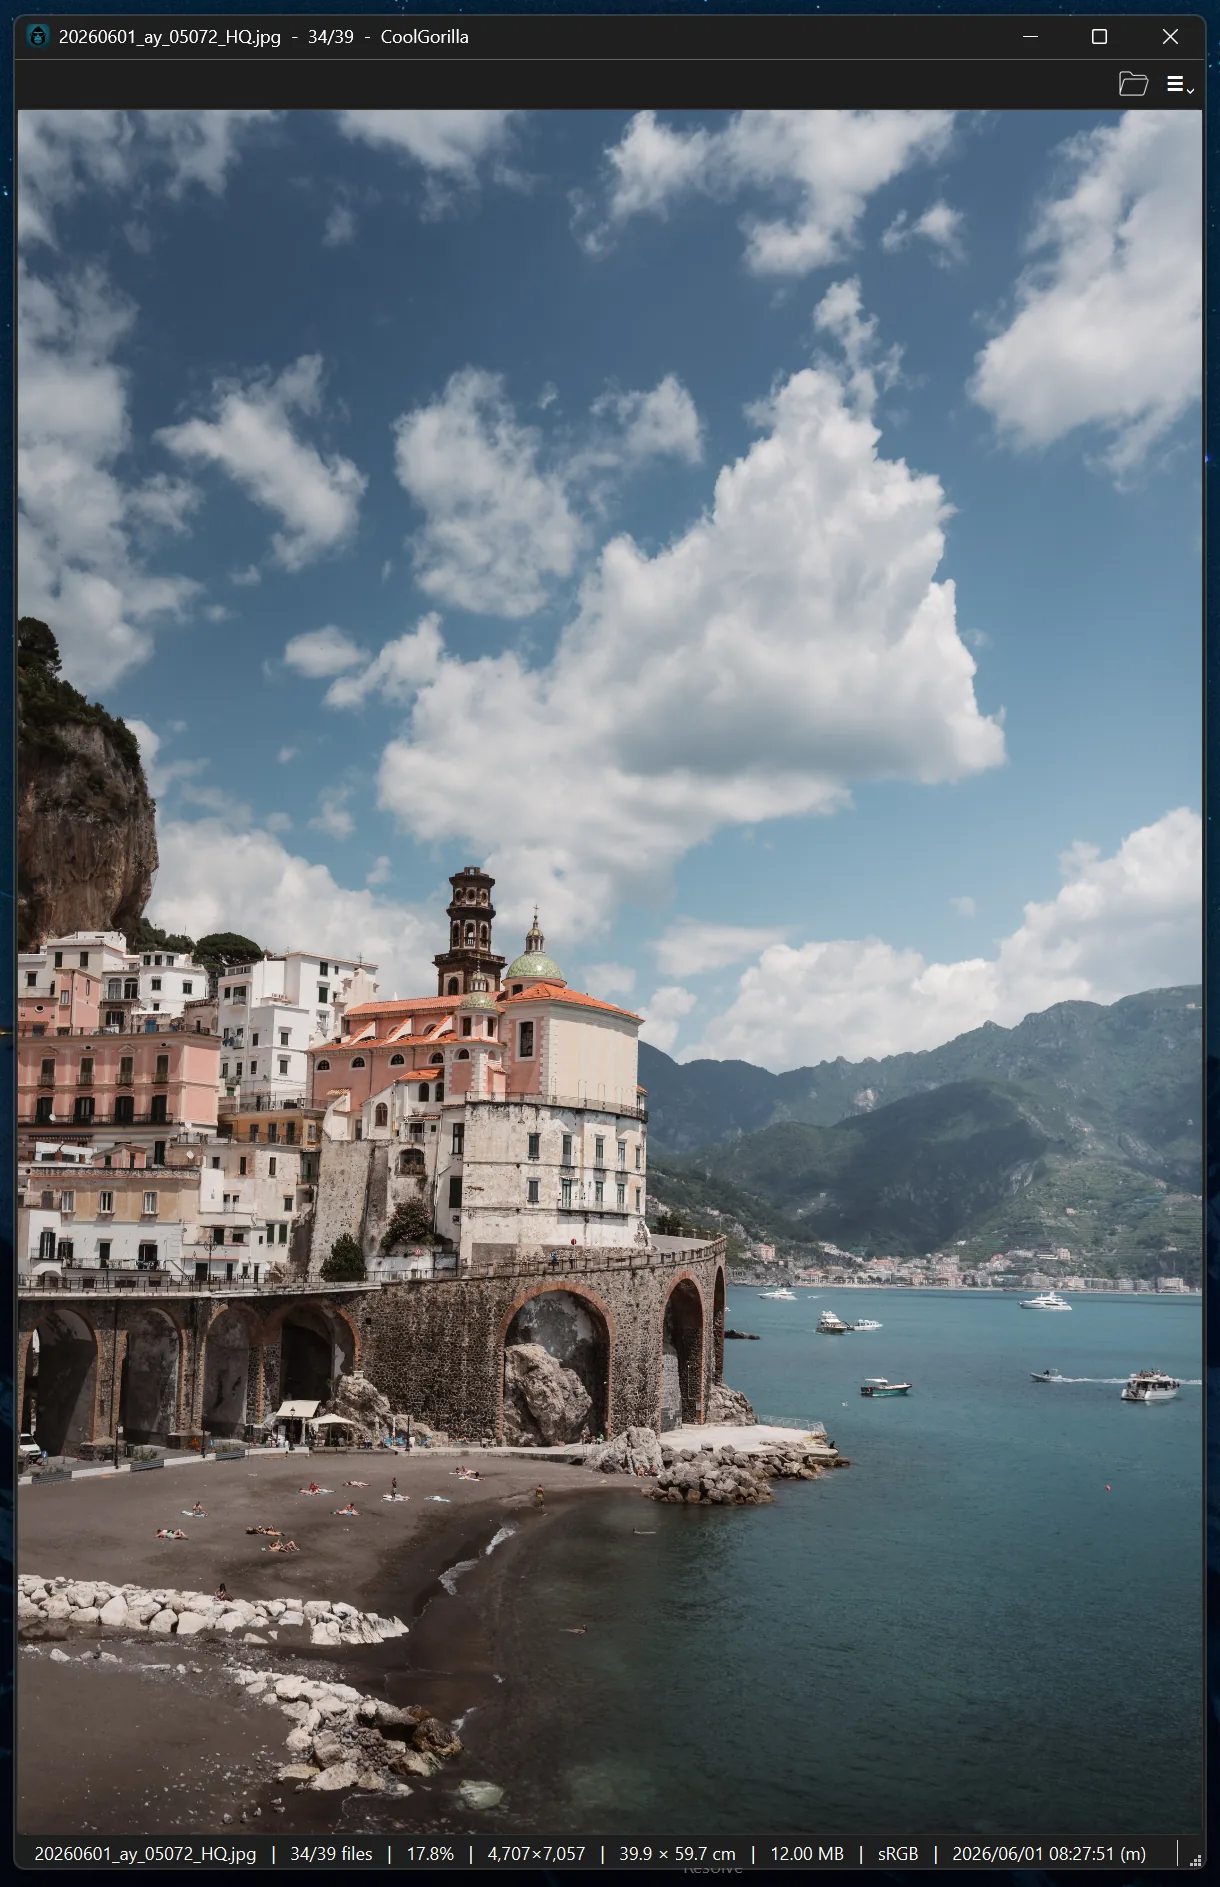
Zoom, pan and lock-zoom
| Wheel | Zoom towards the cursor |
| Double-click | Toggle native 100% at the cursor, and back to fit |
| Drag | Pan the zoomed photo |
| Ctrl+0 · 1 · 2 | Fit · actual size (100%) · fill |
| Z | Lock zoom |
Past fit, CoolGorilla decodes the photo again at full resolution, so 1:1 really is 1:1 — which is what you want when you are checking focus on a RAW file.
Lock-zoom is for bursts. Zoom into the eye of the first frame, press Z, then arrow through the sequence: every frame of the same size holds the same crop, at full resolution, so you can compare the same detail across ten shots without touching the mouse.
Sorting
Menu → Sort orders the gallery by name, date modified or file size, ascending or descending, and remembers your choice. Star-rated photos always group at the front of the filmstrip — five stars first, down to unrated — whatever sort you pick; the sort orders photos within each of those groups.
Star ratings
Press 1 to 5 to rate the photo you are looking at; 0 clears the rating. The view moves on to the next photo by itself, and the one you just rated files into its star group at the front of the strip, where its stars show under the thumbnail.
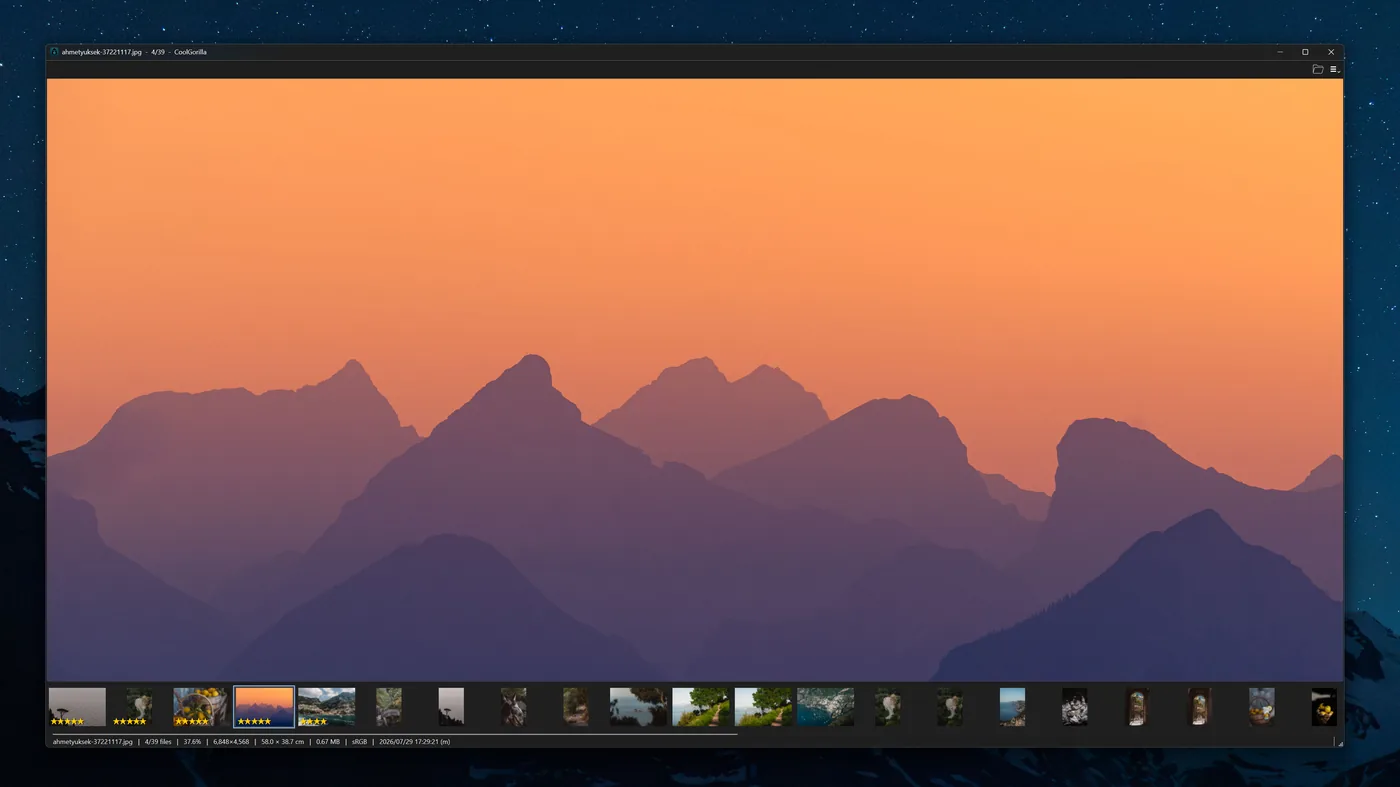
Ratings are written as XMP sidecar files — IMG_0001.xmp next to IMG_0001.ARW — using the same xmp:Rating field Lightroom, Bridge and Capture One read and write. Rate here and the stars are already there when you import; stars set there show up here. The photo itself is never rewritten, so a proprietary RAW is never at risk.
Rate and file, in one keystroke
Hold Shift with a rating — Shift+1 through Shift+5 — and the photo gets that star and moves straight into an Approved\5Stars folder (or 4, 3, 2, 1) beside where it lives now. The rating travels with it, and the view moves on.
Use plain 1–5 when the stars are notes to come back to, and Shift+1–5 when the star is the decision: a shoot sorts itself into star folders as you go, with nothing left to move afterwards.
Ctrl+Z undoes the whole thing at once — the photo comes back to its folder carrying whatever rating it had before you pressed the key. It works on a photo that already has that rating too: pressing Shift+3 on a three-star photo is a request to move it, and it moves.
Filing a whole star group
Right-click any rated thumbnail in the filmstrip and you get two actions for its entire rating tier: move all of them to the matching Approved folder, or copy them there instead — the originals stay exactly where they are, keeping their stars, so you can assemble a print set without emptying the folder it came from. Both are a single undo, and copying the same group twice never overwrites: the second copy lands beside the first.
Approve, reject, delete — and undo
| A | Move the photo into an Approved subfolder |
| X | Move it into a Rejected subfolder |
| Delete | Move it to the Recycle Bin — this one asks first |
| Ctrl+Z | Undo the last thing you did to a file |
| Ctrl+Shift+Z | Redo it |
Approve and reject are deliberately non-destructive: the subfolder is created next to the photo and the file is moved, not copied or deleted. Its rating sidecar and any EXIF backup travel with it. A and X sit next to each other so one hand can cull while the other holds the coffee.
Undo steps back through everything you did to files in this session: ratings, approve and reject, rate-and-file, group moves and copies, rotations, and EXIF removal. A photo that has left the folder by other means — you moved it yourself, or emptied the subfolder — is skipped rather than failing loudly.
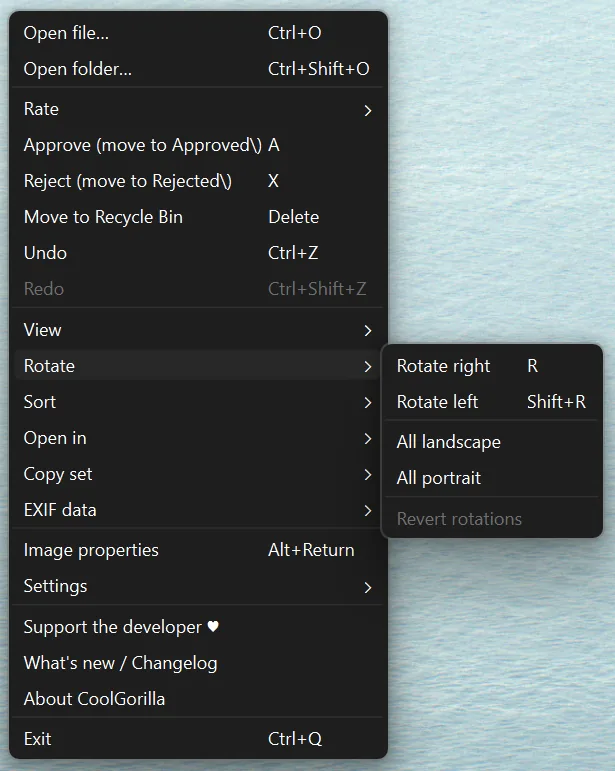
The copy set
The copy set is a running selection you paste somewhere else.
| Ctrl+Shift+C | Add the current photo to the set, or take it out again. Photos in the set carry a gold star on their thumbnail. |
| Ctrl+V | In Explorer or Finder: drops every file you collected. The clipboard is rewritten each time you add one, so it always holds the whole set. |
| Ctrl+Shift+R | Empty the set and clear the clipboard |
| Ctrl+L | Copy the current photo's full path as text |
Rotating for print
R turns the photo a quarter clockwise, Shift+R anticlockwise. The file on disk is turned, not just the view.
Menu → Rotate also has the pass a print run needs. All landscape and All portrait turn only the photos facing the wrong way, so a mixed folder comes out uniform for the paper feed — photos already facing the right way are left untouched. Revert rotations puts the whole folder back the way it arrived, after the run.
Pixels really move, because print machines ignore the EXIF orientation flag — flipping only the flag would fail exactly where it matters. JPEGs are re-encoded with their own original quantisation tables, so a rotate costs well under 1% of file size rather than visible quality; and where only the orientation flag is wrong, as on every phone shot, nothing is re-encoded at all. What changed is recorded in a single CoolGorilla-rotations.json per folder — one small file, not one per photo — which is what makes Revert rotations work even after you close the app.
Print size
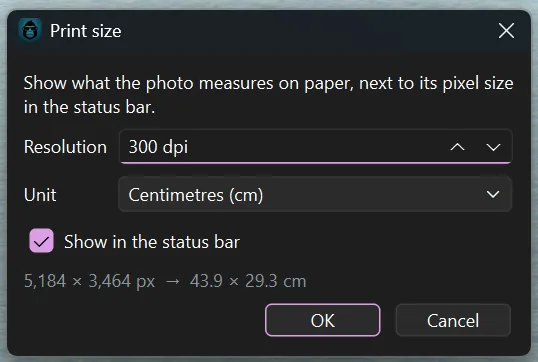
Menu → Settings → Print size sets the resolution and unit used for the paper measurement in the detail bar. A lab working at 300 dpi in centimetres and someone preparing web images at 72 dpi want different numbers from the same file, so this is set once and remembered. Untick Show in the status bar to hide it again.
Properties and EXIF
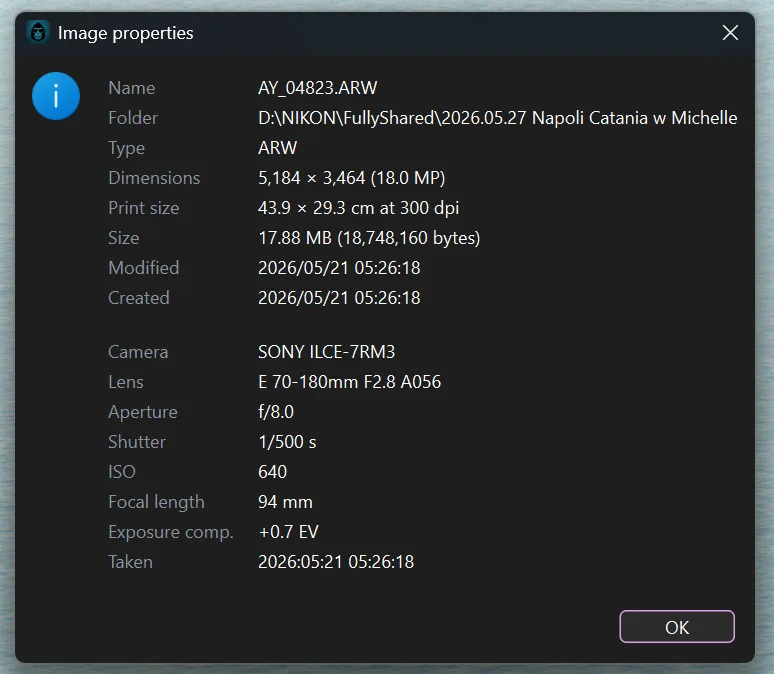
Alt+Enter opens everything the file knows about itself: name, folder, type, pixel dimensions and megapixels, print size, bytes, modified and created dates — then the camera block: body, lens, aperture, shutter, ISO, focal length, exposure compensation and the moment it was taken.
Removing EXIF data
Menu → EXIF data → Remove EXIF data. Tick what should go — GPS location, camera, lens and serial numbers, capture settings, date and time, software, artist and copyright — and it is stripped from the open photo. Groups the file does not carry are greyed out, so you can see at a glance whether a photo is even carrying its location.
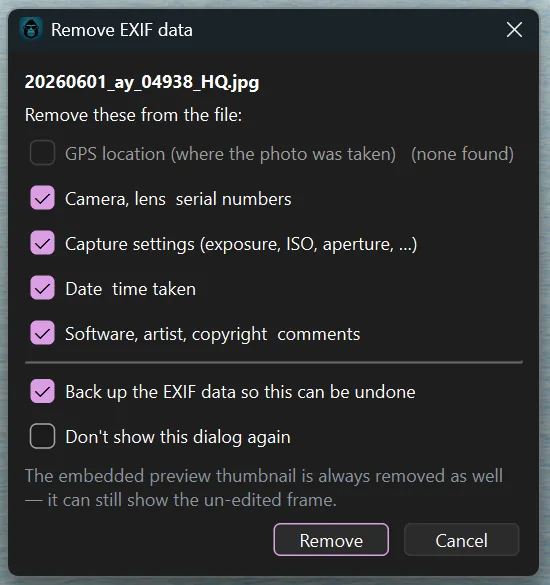
- Pixels are never recompressed. Only the JPEG's EXIF segment is rewritten; the compressed image data is copied through byte for byte.
- With the backup box ticked, the original EXIF is saved beside the photo. It travels with the file when you approve or reject, and goes to the Recycle Bin with it if you delete.
- Recover EXIF data puts it back from that backup. Unlike undo, it still works on a photo you stripped days ago.
- Don't show this dialog again makes later removals happen in one keystroke with the same choices. Bring the prompt back with Ask before removing EXIF in the same menu.
JPEG only, on purpose. RAW and TIFF are refused: rewriting a proprietary RAW container risks the original, and TIFF keeps its EXIF in the file's own directory, so removing tags would mean rewriting the whole image. The embedded preview thumbnail is always removed as well — it can still show the un-edited frame.
Opening in another app
Menu → Open in. The first time, pick your editor; it is remembered by name after that, and Change external editor swaps it. Give it a key in the shortcuts dialog and a photo goes to Lightroom or Photoshop with one press. Open with hands the photo to the system's own chooser for a one-off app, and L opens the photo's location — Explorer with the file selected, Finder on macOS, the containing folder on Linux. If another program rewrites a photo you have open, CoolGorilla notices when you come back to the window and reloads it.
Making the keys yours
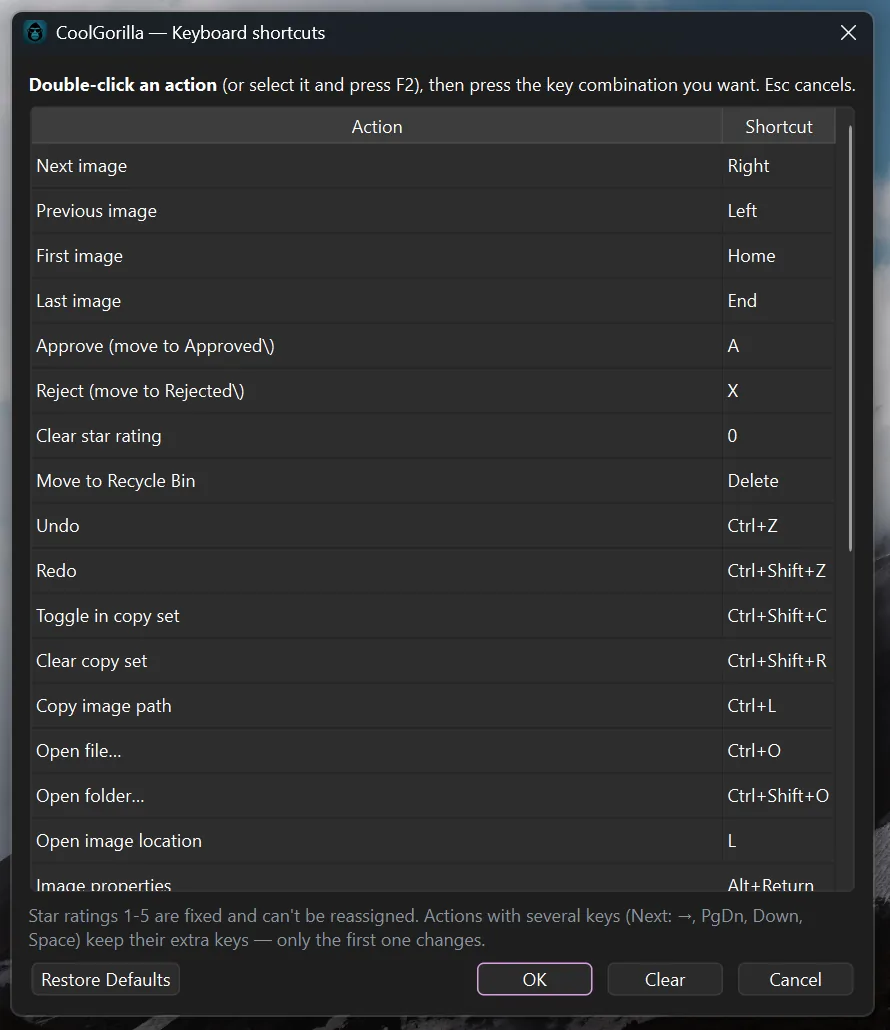
Menu → Settings → Keyboard shortcuts. Double-click an action, or select it and press F2, then press the combination you want. Esc cancels, Clear leaves an action with no key, and Restore Defaults puts everything back. Changes take effect immediately — there is no restart.
- Actions with several keys — Next is the right arrow, PgDn, Down and Space — keep their alternates; only the first key changes.
- The rating keys 1–5 and Shift+1–5 are fixed and cannot be reassigned or taken by something else.
- A key already in use is refused the moment you press it, naming the action that has it.
- Remove EXIF data, Recover EXIF data, Open with and Open in editor ship with no key at all — assign them here if you use them often.
All keys
| Key | Action |
|---|---|
| → PgDn ↓ Space | Next photo (wraps around) |
| ← PgUp ↑ | Previous photo |
| Home · End | First · last photo |
| 1–5 | Star-rate the photo |
| 0 | Clear the rating |
| Shift+1–5 | Rate, and move to the matching Approved star folder |
| A | Approve — move to Approved |
| X | Reject — move to Rejected |
| Delete | Move to the Recycle Bin (asks first) |
| Ctrl+Z · Ctrl+Shift+Z | Undo · redo |
| Ctrl+Shift+C | Add to or remove from the copy set |
| Ctrl+Shift+R | Clear the copy set and the clipboard |
| Ctrl+L | Copy the photo's path |
| R · Shift+R | Rotate right · left |
| Ctrl+0 · 1 · 2 | Fit · actual size (100%) · fill |
| Z | Lock zoom across frames |
| T | Show or hide the filmstrip |
| F · F11 | Fullscreen · fullscreen, image only |
| Esc | Leave fullscreen, otherwise quit |
| L | Open the photo's location |
| Alt+Enter | Properties, with EXIF |
| Ctrl+O · Ctrl+Shift+O | Open files · open a folder |
| Ctrl+W · Ctrl+Q | Quit |
What CoolGorilla writes, and where
Nothing is written inside your photos except when you explicitly rotate one or remove its EXIF. Everything else lives beside them:
| IMG_0001.xmp | The star rating, in the format Lightroom and Bridge already use |
| IMG_0001.exifbak | The EXIF you removed, kept so it can be put back |
| CoolGorilla-rotations.json | One per folder: what was turned and which way, so a print run can be reverted |
| Approved\ Rejected\ | Subfolders created next to your photos when you cull. Files are moved into them — never deleted. |
Preferences — sort order, print size, your shortcut changes, the remembered editor — are stored per user, outside your photo folders.
Updates
The version from this website checks for a new release on startup and offers it; turn that off under Settings → Check for updates on startup. The Microsoft Store version updates through the Store. Menu → What's new shows what changed in each release.